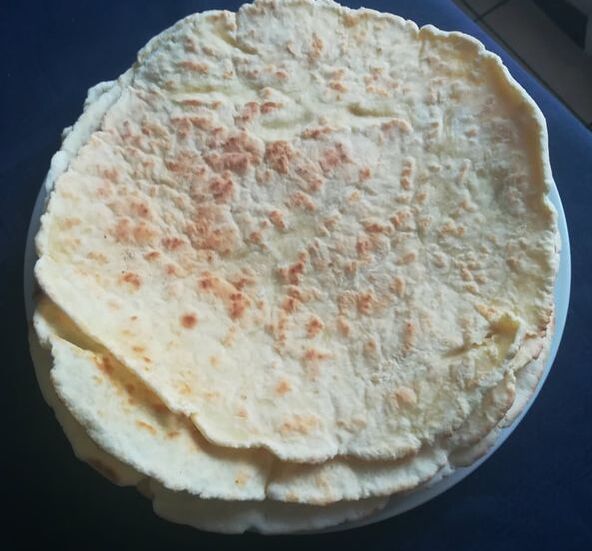
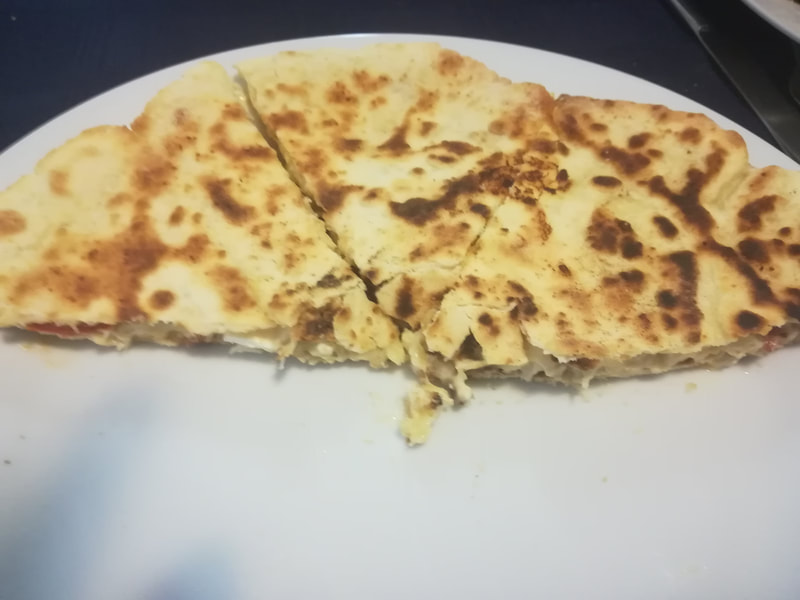
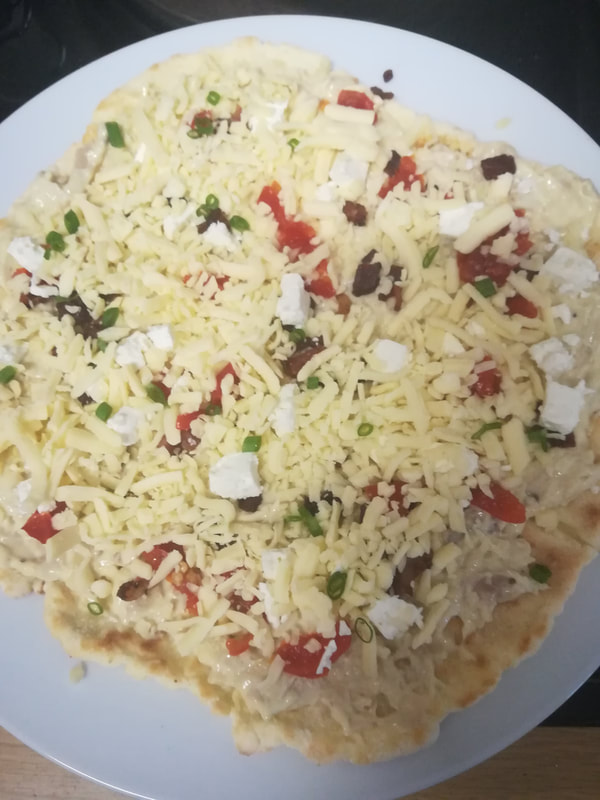
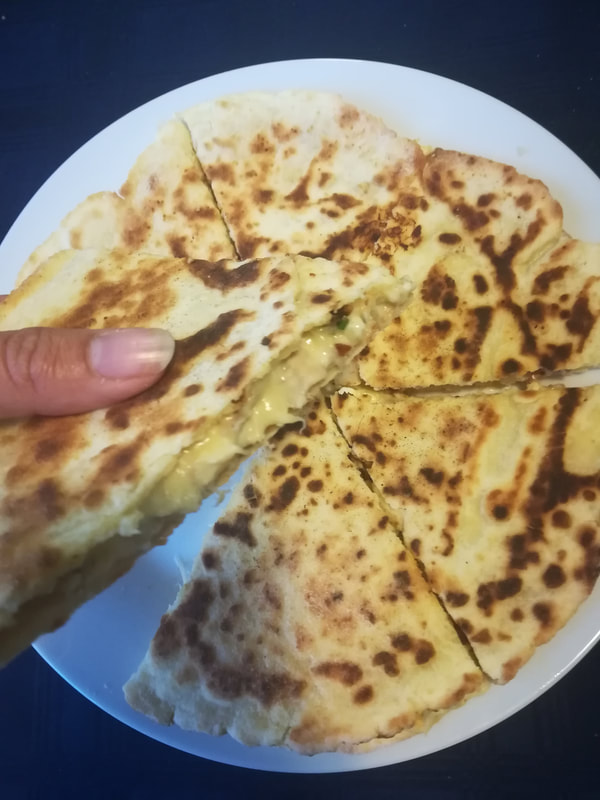
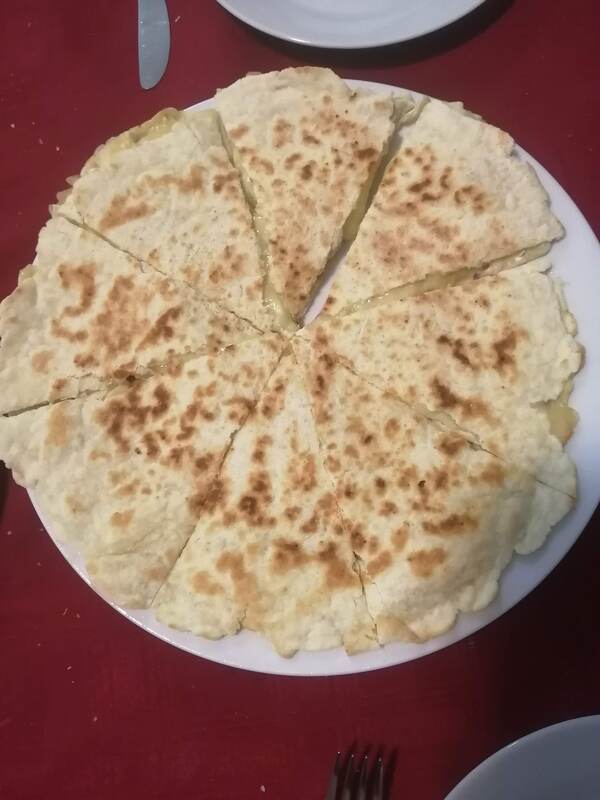
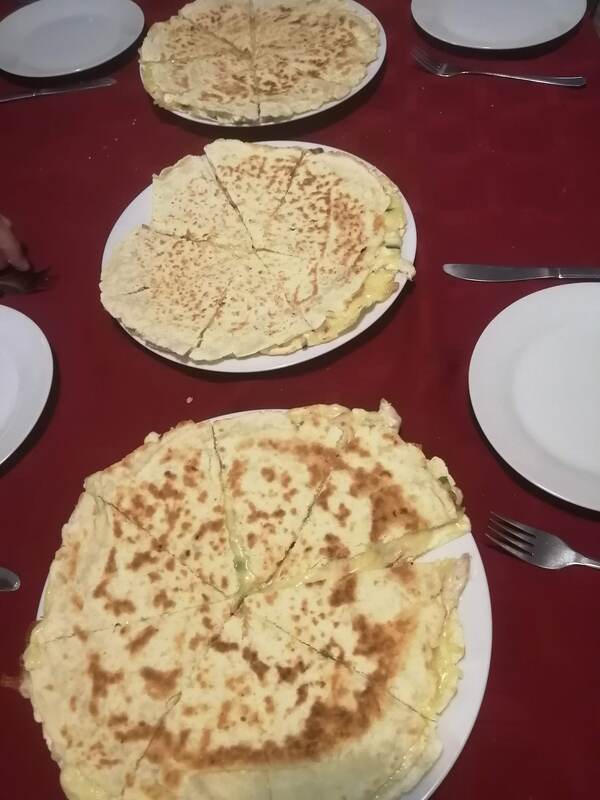
| The flat breads are quick and easy to make, if you are lucky enough to have a taco press it cuts down the work a lot. I use the taco press to press the balls into smallish disks then I only roll them a little to get them to the desired size. The recipe makes 6 large flat breads. Have I mentioned how easy they are to make and how delicious they are! To make a Tramezzini out of it, we just top it with some chicken mayo, crispy bacon, peppadew, spring onion avo if they are in season and mozzarella. We grill them on the sandwich press until the cheese is melted and then we tuck in! Of course you can get creative with toppings, leave a comment and let me know what you use them for. Enjoy! Click here to find the pastry flour mix recipe.
| |||
|
So one thing I really miss about being gluten free is Tramezzini. I came across a recipe for flat breads and I thought it might just work and gave it a shot, of course making my own adjustments to make it Gluten Free. The results did not disappoint. It has become a family Favorite.
0 Comments
This pastry flour is quick and easy to make. You could put it in a container and shake it all together, but I find using a mixing bowl and a whisk is far more effective. Click on the link below to download the recipe.
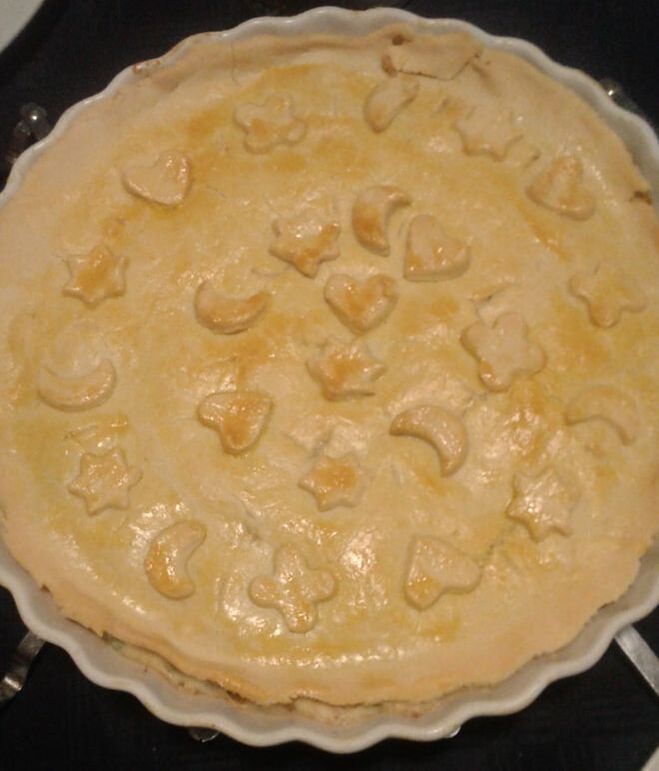
Making the actual PastryMy suggestion to you will be to use your mother or grandmother's favorite tried and tested pastry recipe and experiment from there, you might find you need to add in more liquid here and there, I find an extra egg is always useful as it has great binding properties. If you don't have a favorite then here is my recipe. Enjoy!
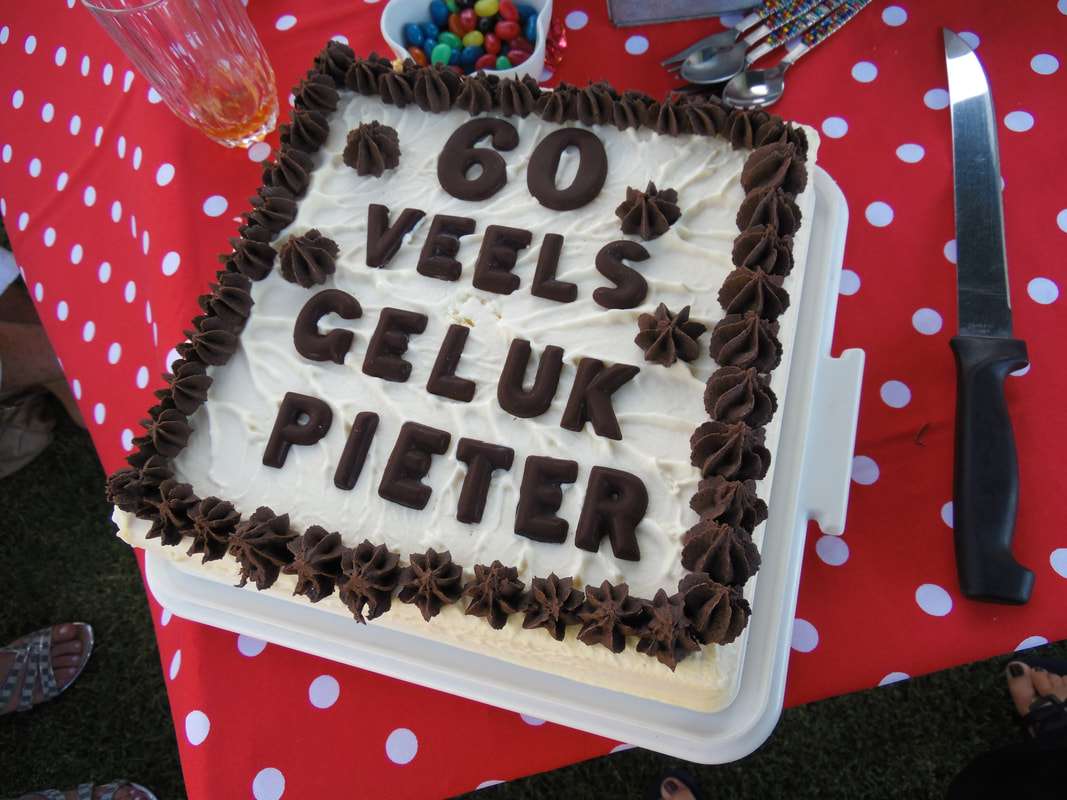
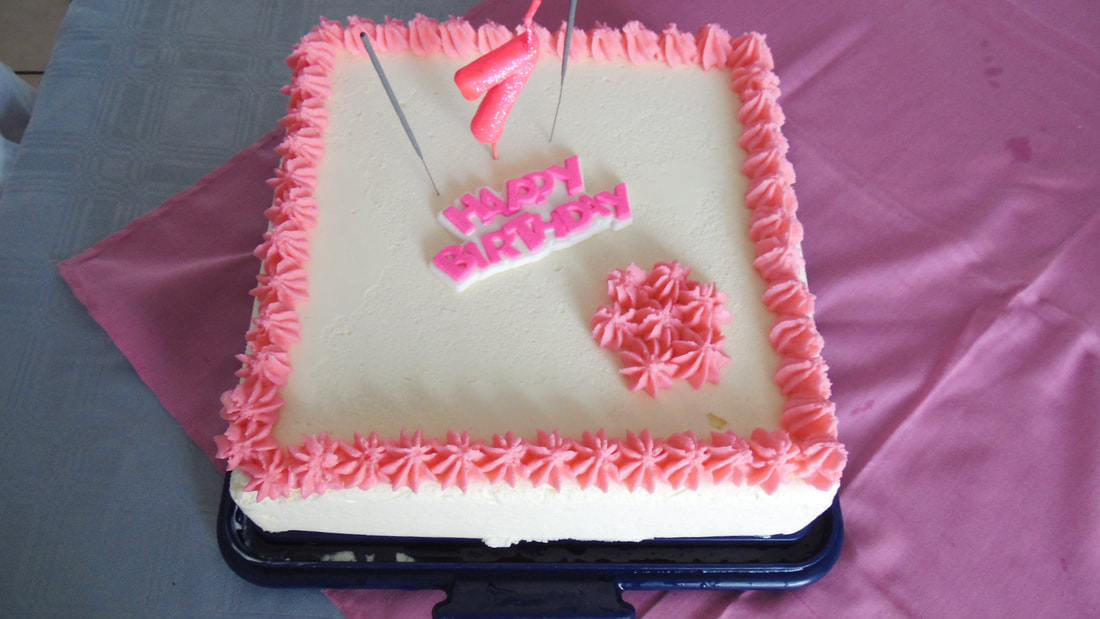
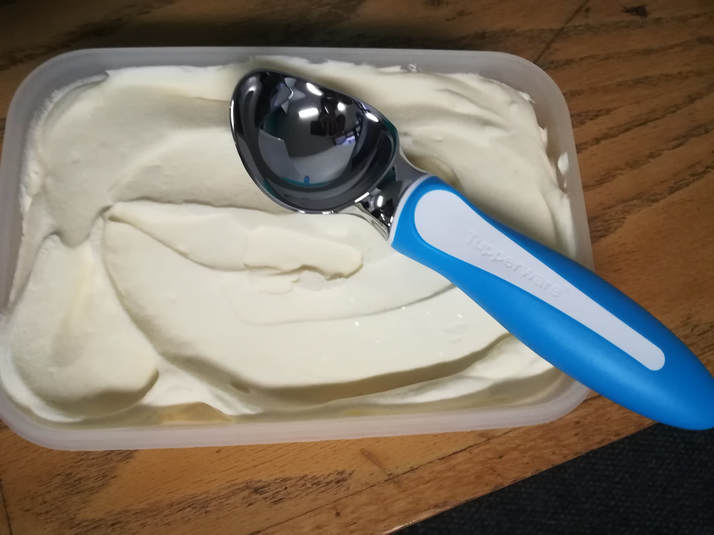
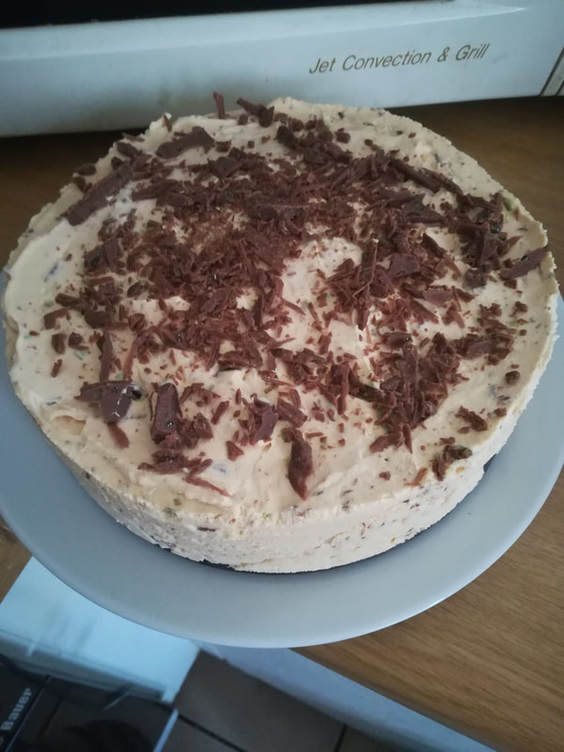
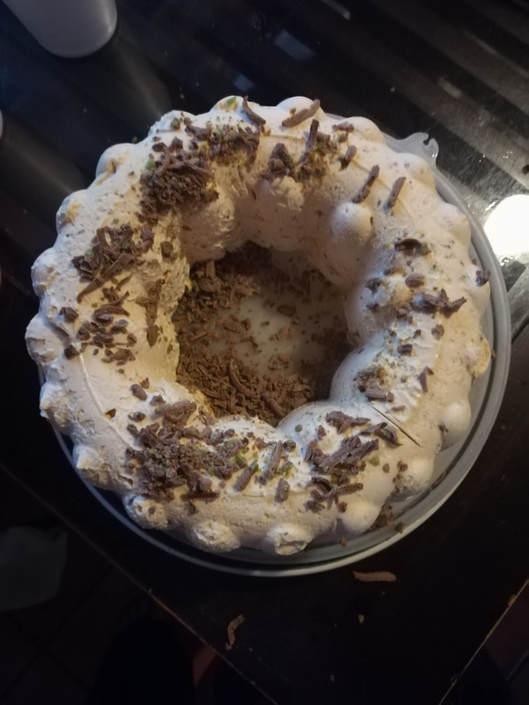
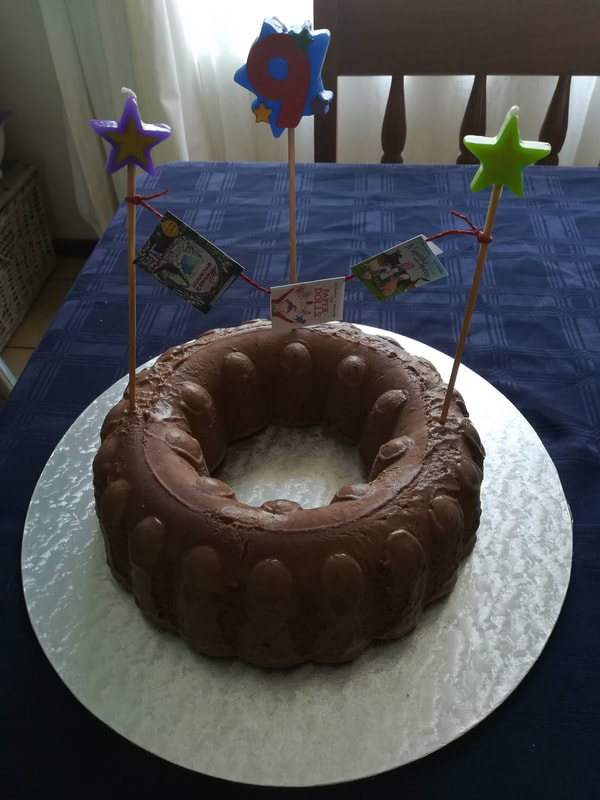
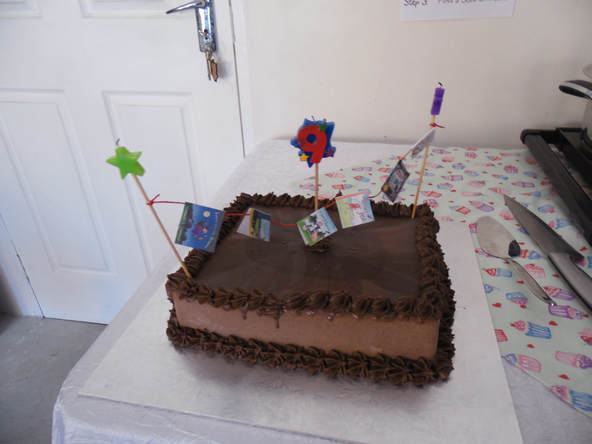
I know it is shocking to think that even Ice cream can have gluten in! Some companies are conscious of what they do and manage to produce some delicious Gluten free Ice cream, The Woolwoorths triple caramel ice cream is certainly one of my favorites. The fun thing about home made ice cream is that you can play around with flavors, you can also play around with shapes and make ice cream cakes, ice lollies or just a tub of Ice Cream. Here is a small ice cream cake made with 1 batch of vanilla ice cream, we had rice paper printed at my favorite baking shop and iced it with butter icing. The kids loved it! This was 2 batches of vanilla ice cream, topped with chocolate ice cream and letters made with Chocolate. A really good combination of flavors. It was made using the Tupperware square cake taker. The one below was made the same way, using pink. Here is a batch of plain vanilla ice cream, I stored it in the Tupperware Freezer mate. It is perfect with warm brownies, chocolate or berry sauce. Here I used a spring form pan to shape a cake out of the Peppermint Ice cream. This is the Peppermint Crisp, made in the Tupperware Shape and Serve.. What I love about this is you can get more slices of cake, and the portion control is better. Here is a batch of the chocolate ice cream made into a birthday cake for my Daughter's friends, not a morsel was left. They loved it. Perfect for a summers day! Here I used 2 Batches of the Chocolate Ice cream and I used The Tupperware Stor n Freeze 6,5L to make the cake, I topped it off with Chocolate butter icing. I suppose the reason you are reading this post is to actually get the recipe(s), well here it is, I hope you enjoy it as much as I do.
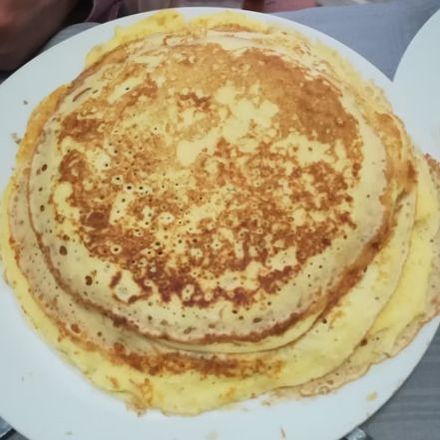
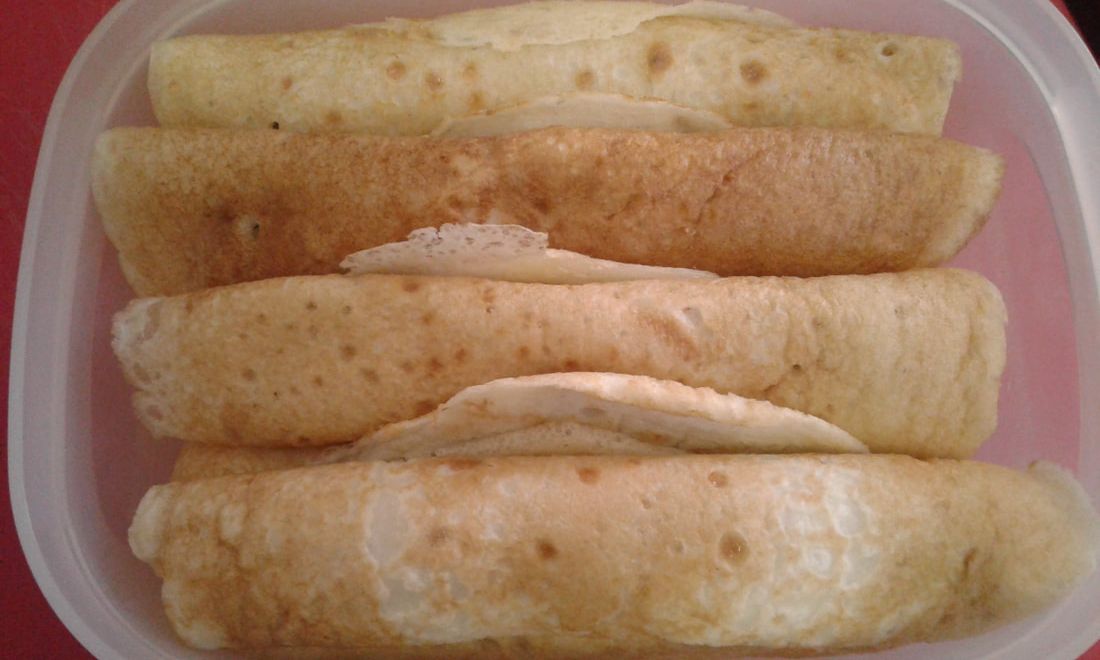
I had a hard time finding the right pancake recipe using different flour and I generally don’t like pre-mixes. I eventually gave up and just made up my own. Some recipes break when you try roll them, others come out too thick, and some are only good on the day you make them, the next day they lose all structural integrity and is just a crumbly mess. I have made these pancakes as mini's for padkos, they are wonderful hot or cold the next day. Some our favorite fillings are: bbq chicken, cheese sauce, caramel, cinnamon sugar and Nutella! Don’t make just one batch, make 2 or 3 and enjoy them! The recipe is simple and straightforward. Hope you love it!
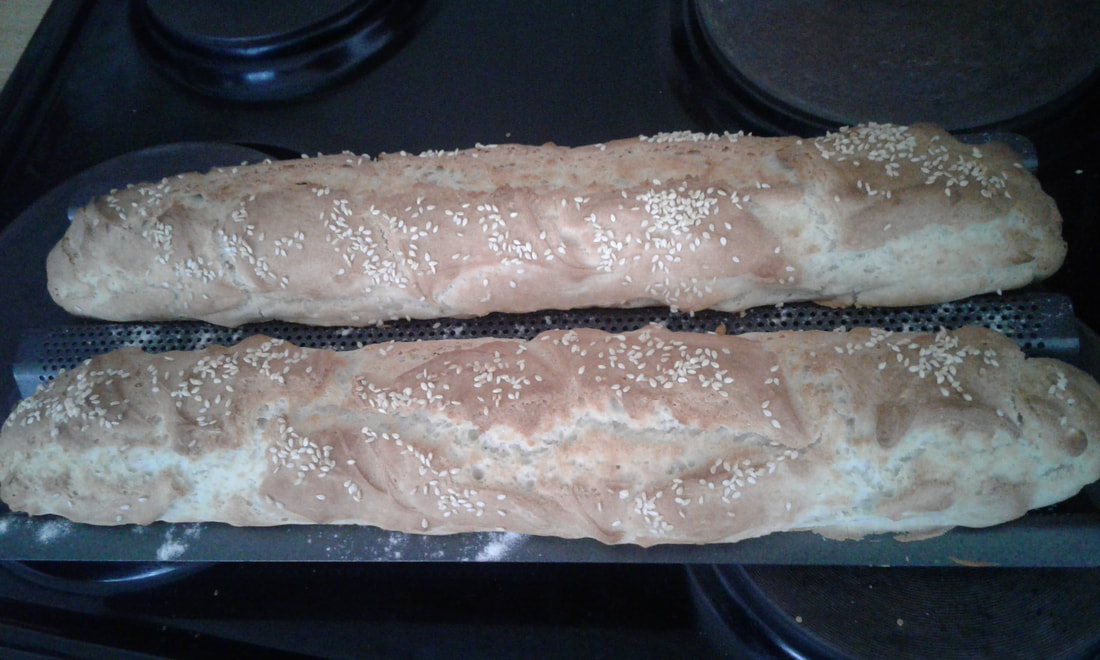
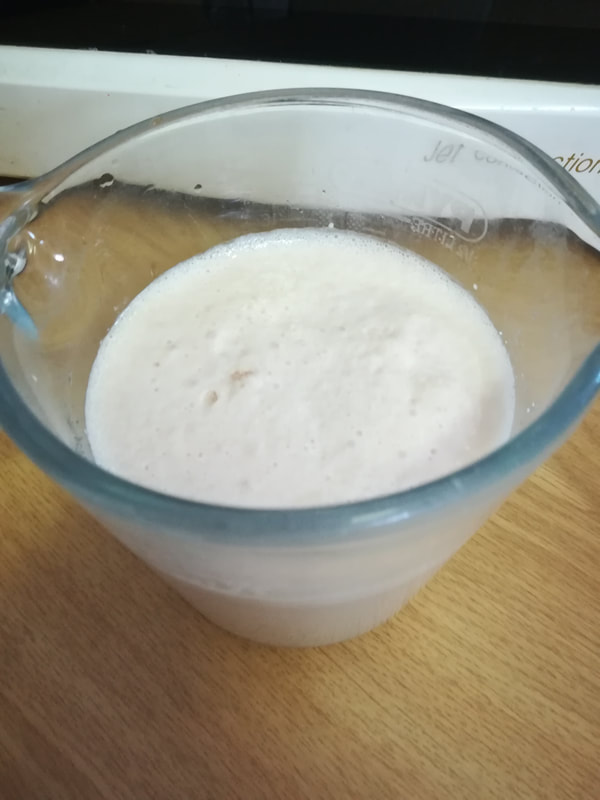
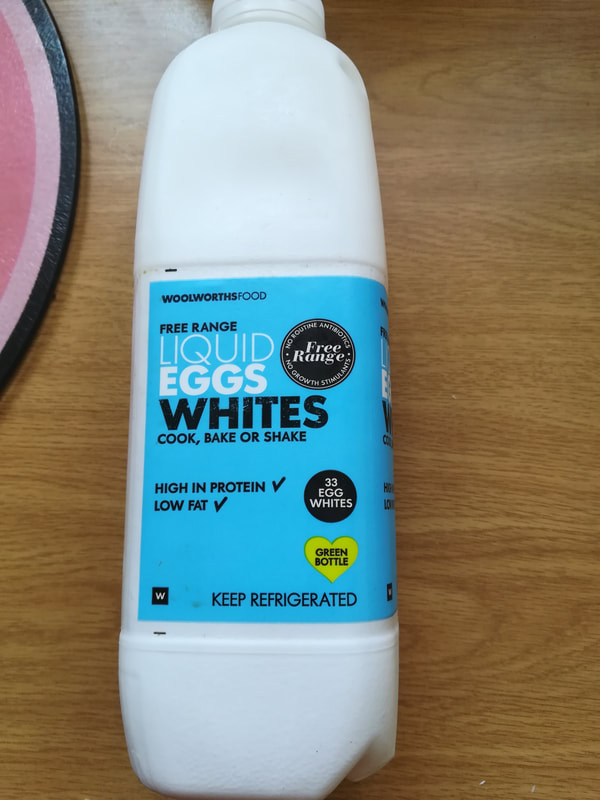
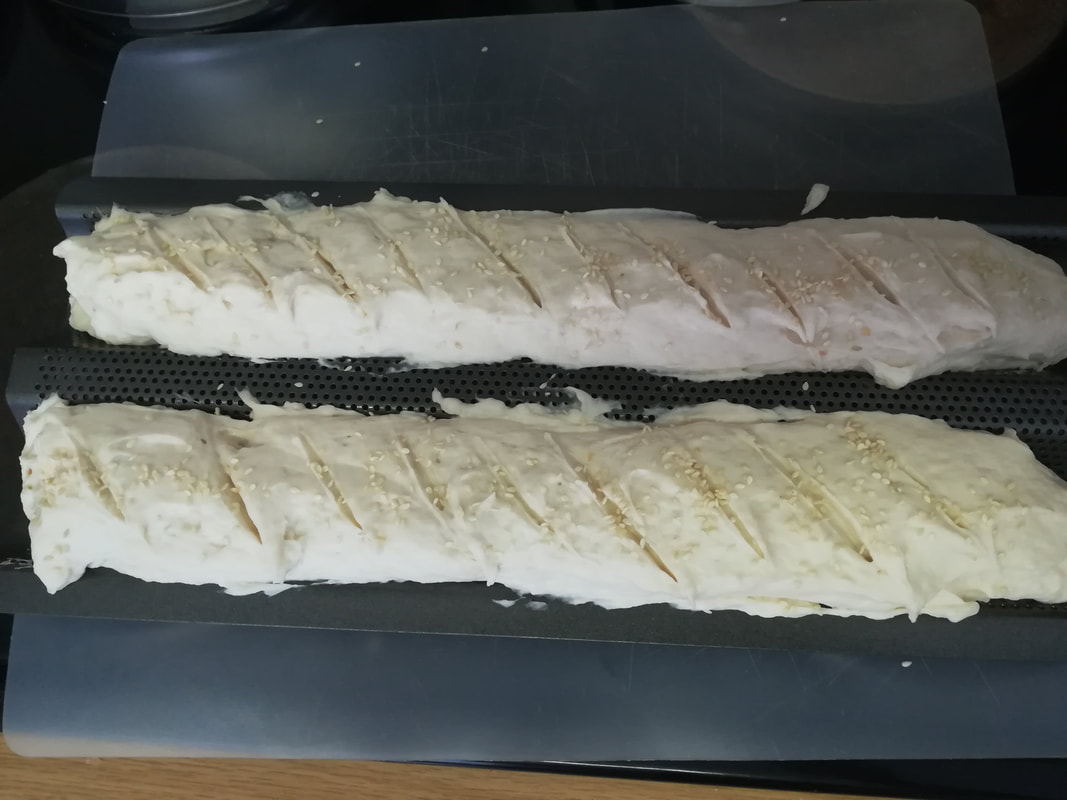
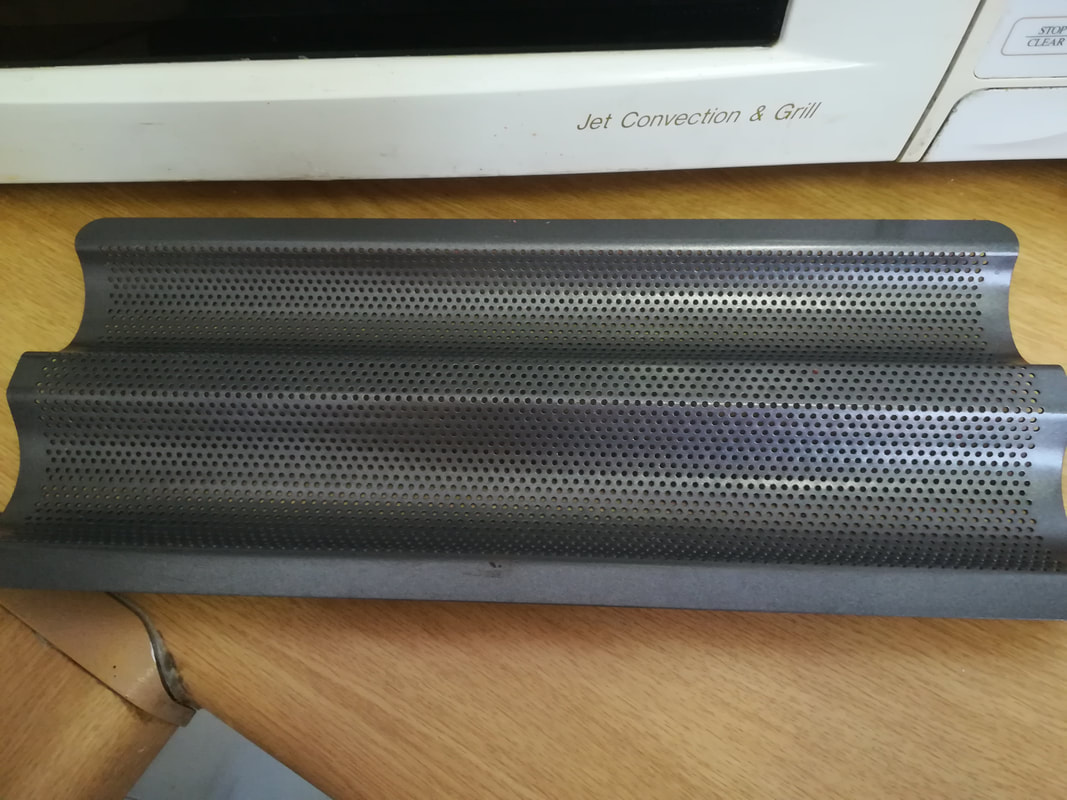
This French bread is perfect for Friday night subs using leftovers, it makes an awesome garlic loaf for that Saturday afternoon braai, for a cold rainy day it makes the perfect companion to soup, it is also great for a cheese fondue, or just sliced and used as a transporter for your favorite cheese and toppings! First thing you do is get your yeast ready, I use the hottest water from the tap, (NOT BOILING WATER, IT WILL KILL THE YEAST) dissolve the sugar and add the yeast. While that is brewing you carry on getting everything else ready. I like using liquid egg whites, mainly because I don't know what to do with all the leftover egg yolks. Once you have mixed everything together, don’t be fooled, the dough is very runny and it should be, DON’T add extra flour. Relax and trust the recipe. I love my special French loaf pan, which you can buy from Chefs ‘n Icers in Santon city. It is also dishwasher safe! I have seen cheaper versions at home stuff at hilfox or brightwater commons, but I really can’t comment on the quality. Here is my recipe, hope you enjoy this bread as much as our family does! The original recipe can be found here, I have tweaked it to our family’s liking.
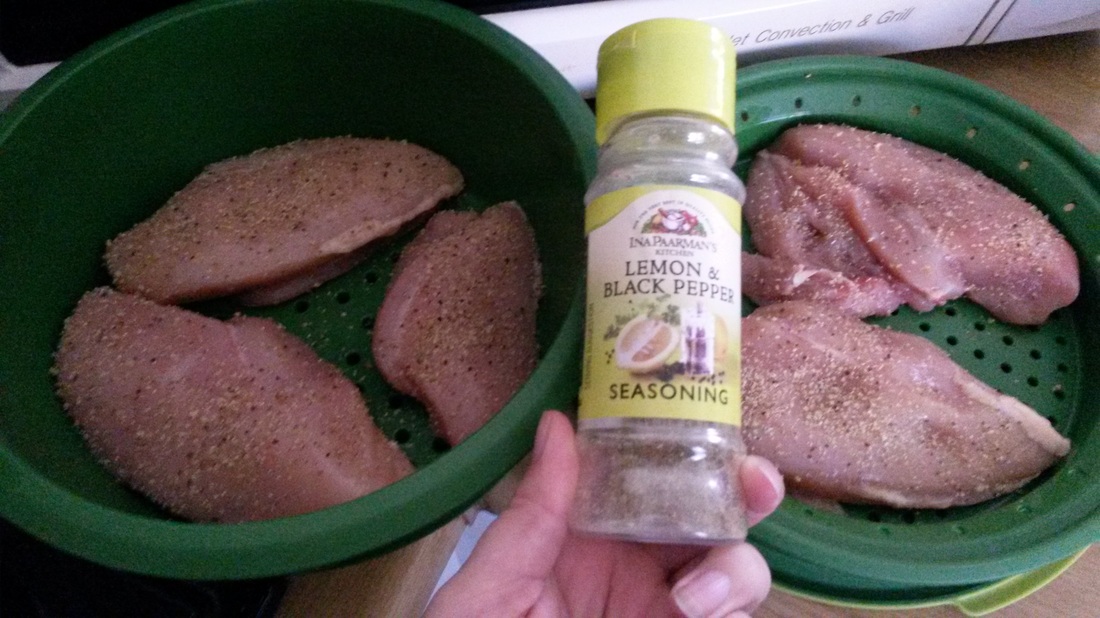
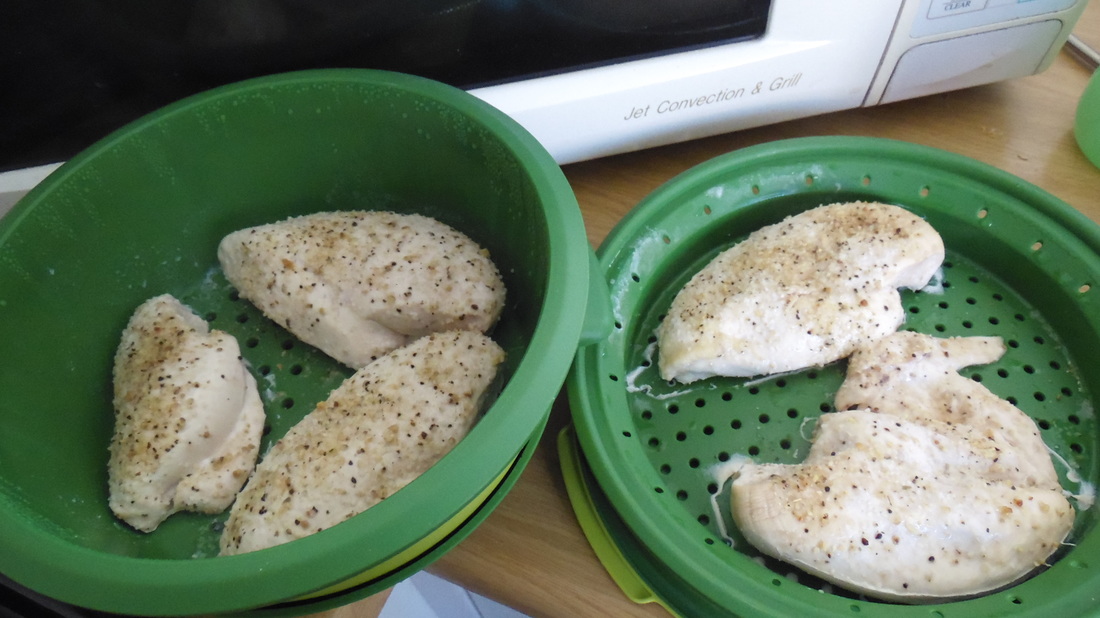
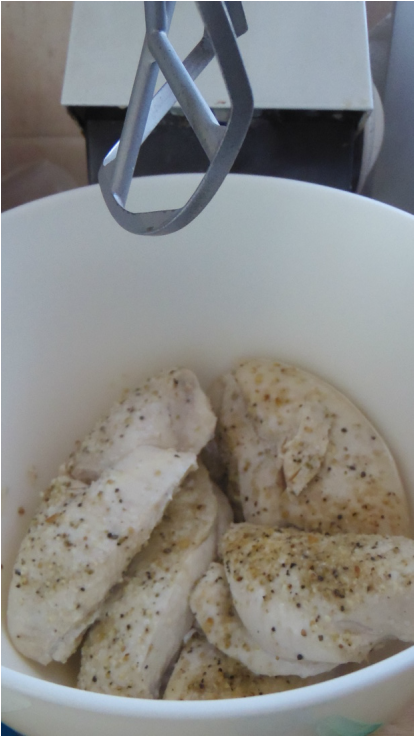
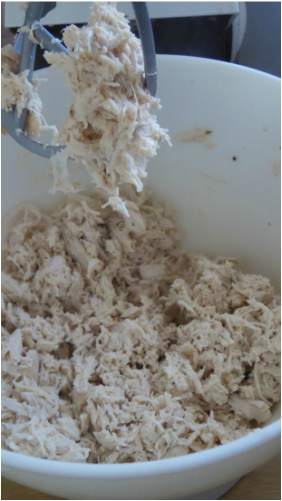
I love this method of making "Generic Chicken" I used to use the slow cooker, but it took long. Now I can prepare chicken in less than 30 minutes. What do I use Generic Shredded Chicken for? Chicken Soup Pizza Topping Sub Topping / Filling Chicken Mayo Sandwiches Filling for Wraps Chicken Salad etc. It is super versatile and handy to have around, I usually make a whole lot, and freeze it, so that I can grab it when making dinner in a hurry! I start off soaking 5 chicken breasts in some orange juice. Drain the chicken breasts and place them in the Tupperware MicroGourmet Steamer. I usually put 3 breasts on the steamer base and 2 on the colander. Season chicken with Ina Paarman Lemon & Black Pepper seasoning. Fill the water tray with 400 ml water and cover the steamer. Microwave it for 20-25 minutes. 25 Minutes later you have juicy tender chicken Then I pop all the chicken into my Kenwood Chef, with the K beater attachment. Then I split the chicken into 3 - 4 freezable Tupperware containers or Ziploc bags and freeze it.
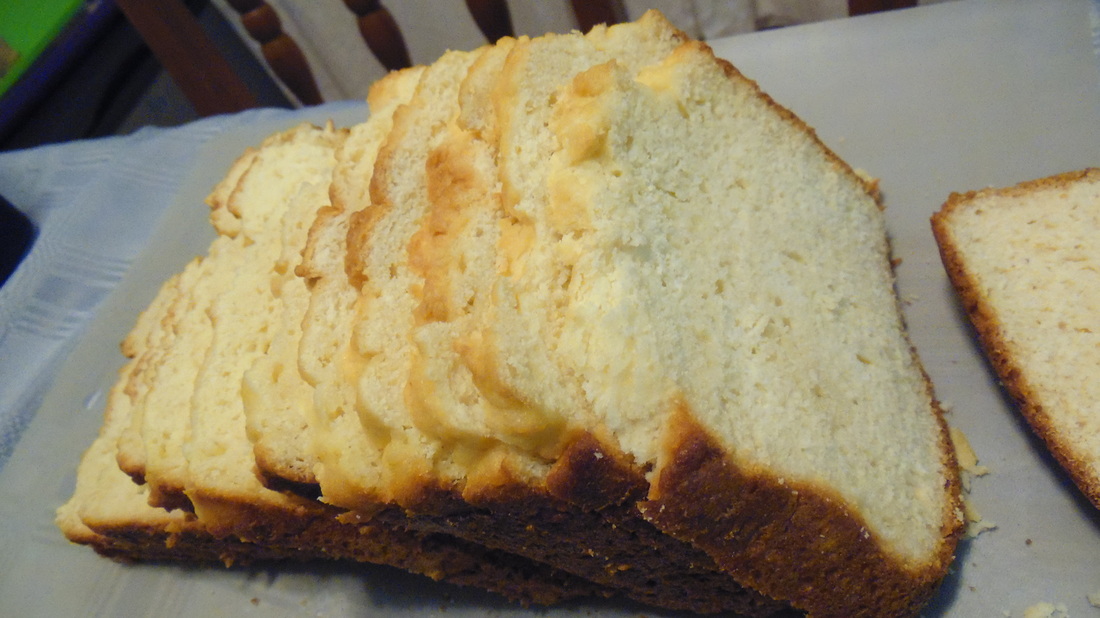
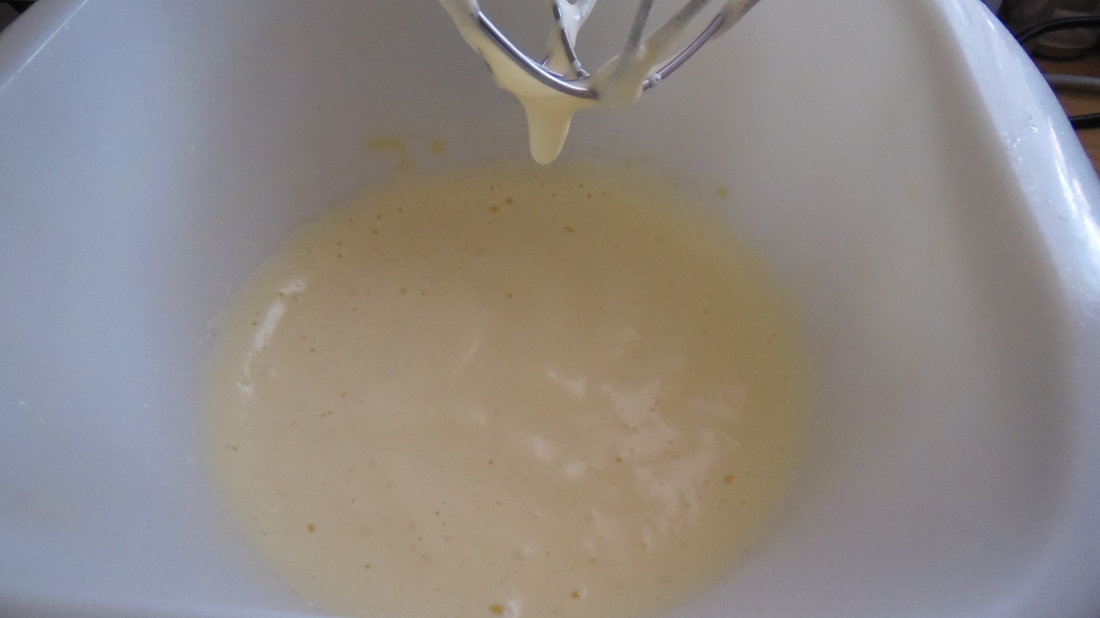
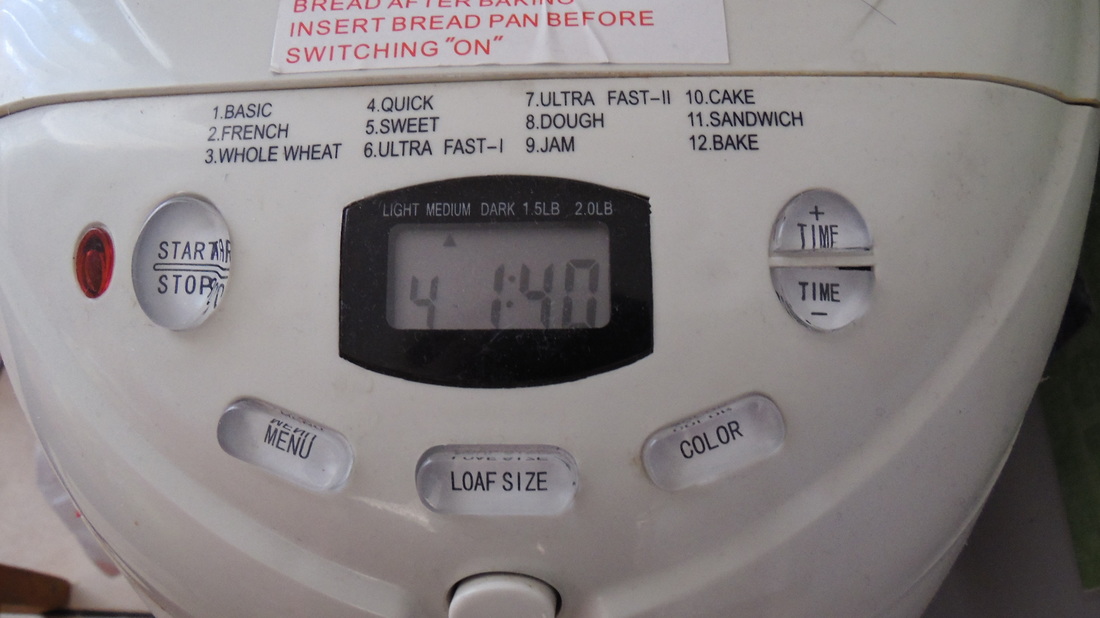
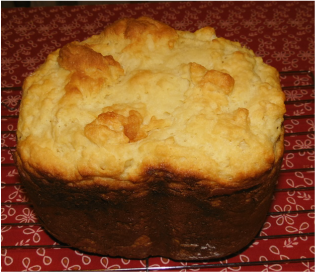
It is quick to defrost and such an awesome standby! The reason we attempted baking bread was because the store bought stuff was beyond awful and mostly tasted like sponge or wet cardboard. Bread was one of the more tricky things I tried to make Gluten Free, we had some interesting failed attempts, some of which were OK and others completely inedible and another I could not even cut trough it was like a rock and went strait to the bin. The taste and texture of Gluten free bread is different from bread you were once used too, unlike most food items which we can make Gluten free without anyone being able to tell the difference. I finally found a recipe that works for us. Unfortunately the link to the original recipe is no longer active. (I really do like giving credit where it is due). I have adjusted the recipe to work for a Sunbeam Bread machine. When it comes to bread machines, I don't have much knowledge and I haven't spent time researching on which brands work best. The bread maker was a gift so I had to figure out how to use it. This specific model did not come with a Gluten Free bread setting, it did however come with some guidelines on how to bake Gluten Free Bread. The suggestion setting was 1 which is for a basic loaf, it takes about 3 hours to mix rise and bake, The problem I have with this setting is that Gluten free bread does not rise like bread made with wheat flour, it does not need to get knocked down twice, by the time the bread-maker had mixed, kneaded the bread, let it rise and kneaded it again, any hope of texture was lost, although the bread was edible, it was dense and unpleasant. The trick to soft airy bread is simply Air, you try and get as much air into your ingredients as possible. And you need to make sure your yeast activates at the right time and temperature.
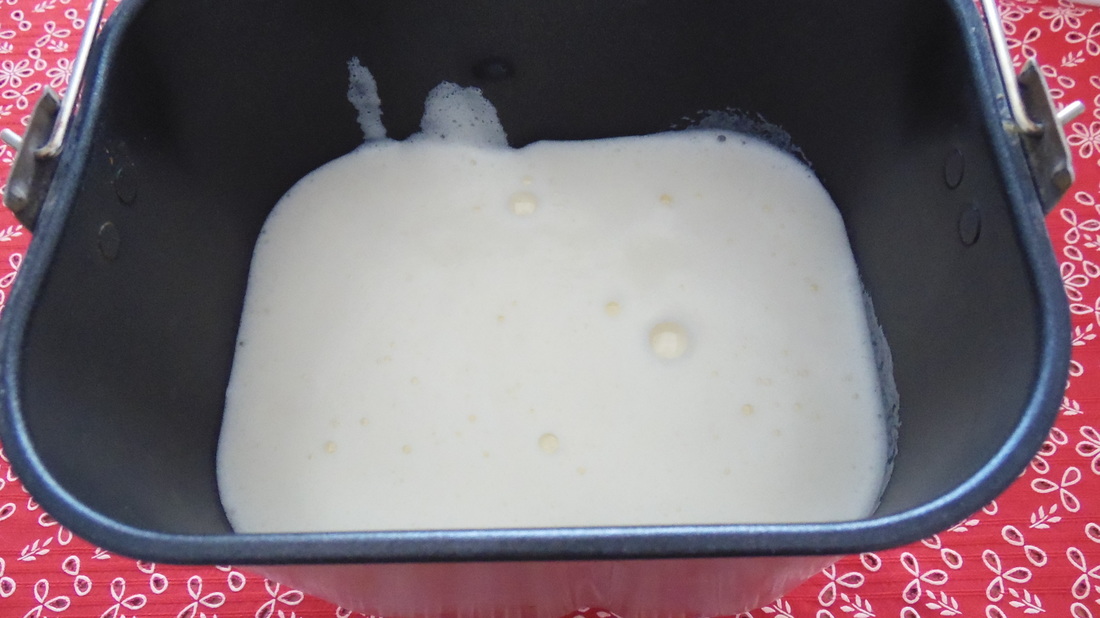
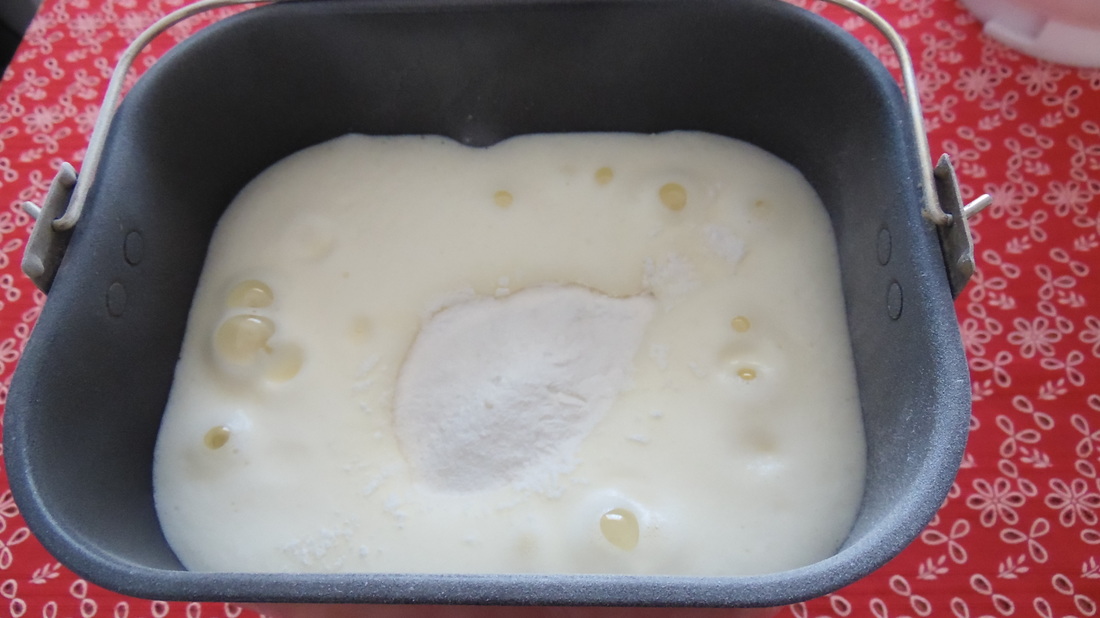
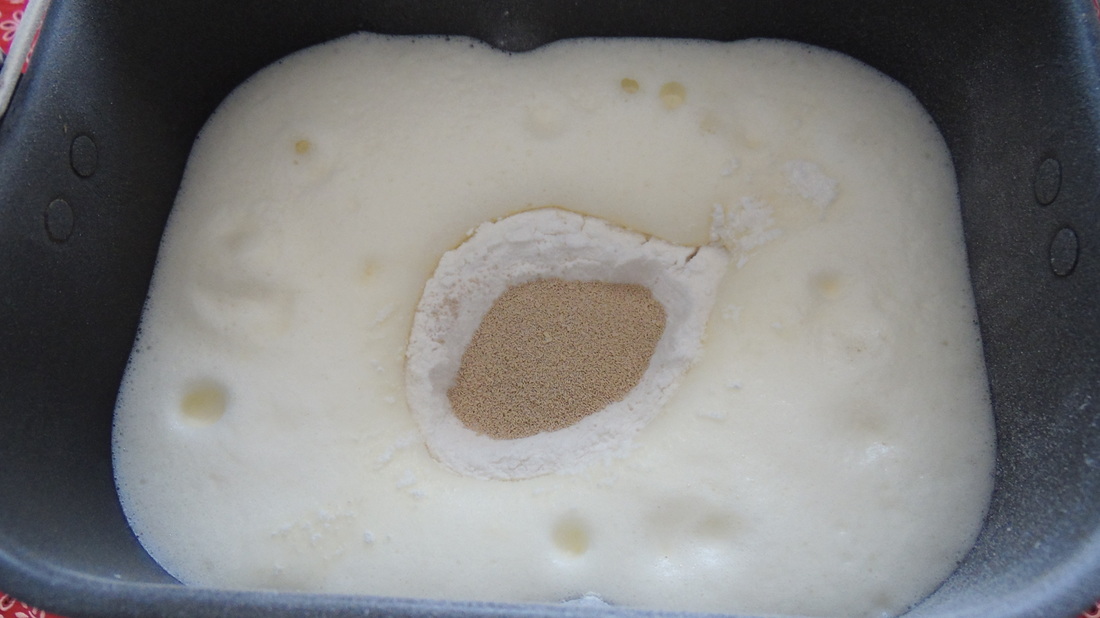
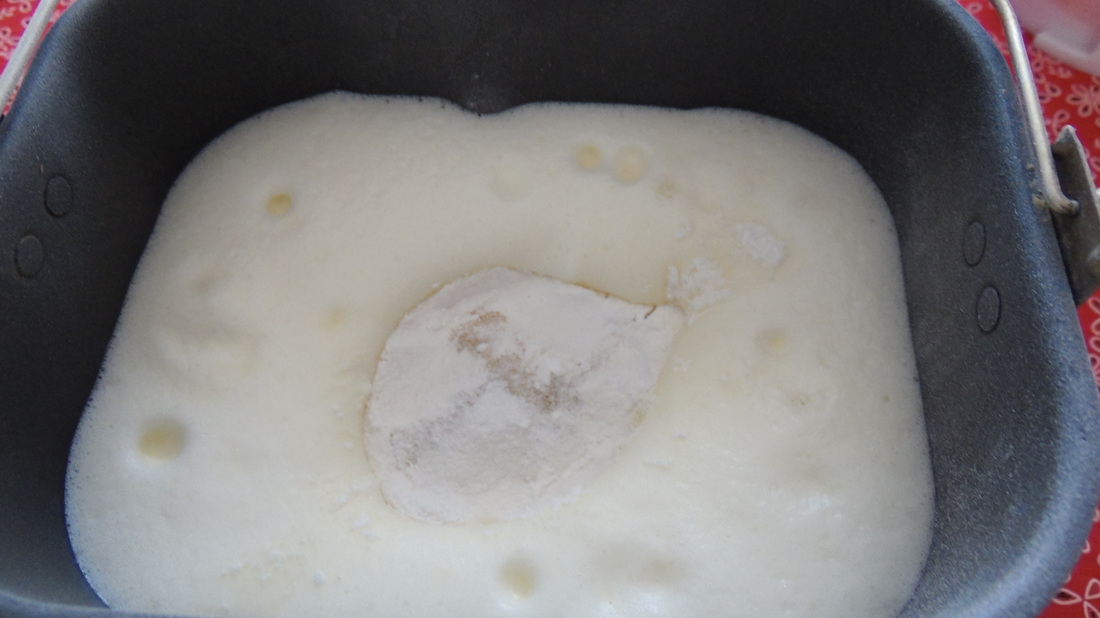
Now we put it all together in the bread maker, this specific model suggests you put in the wet ingredients first, then the Dry ingredients. And then you add the yeast right at the top. As shown below.
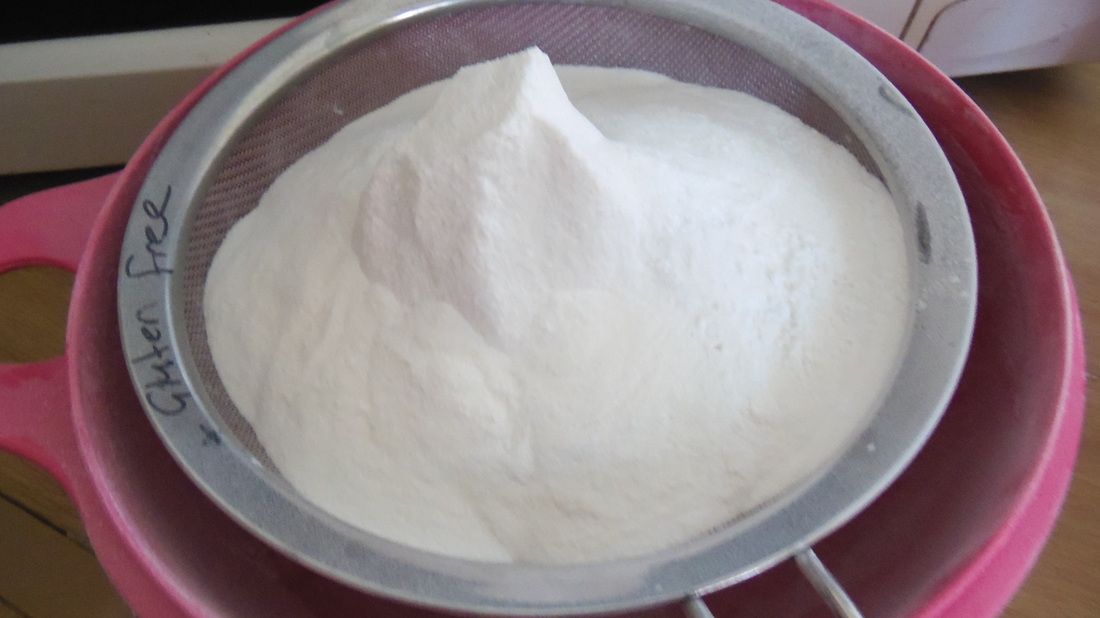
Tip: To save time I usually measure about 10 batches of dry ingredients at a time. I store each batch in a zip lock baggie and then just throw it trough the sieve when I want to bake bread. I really saves time and effort, as well as washing all those measuring cups every time. For a printable version of this recipe please download it here.
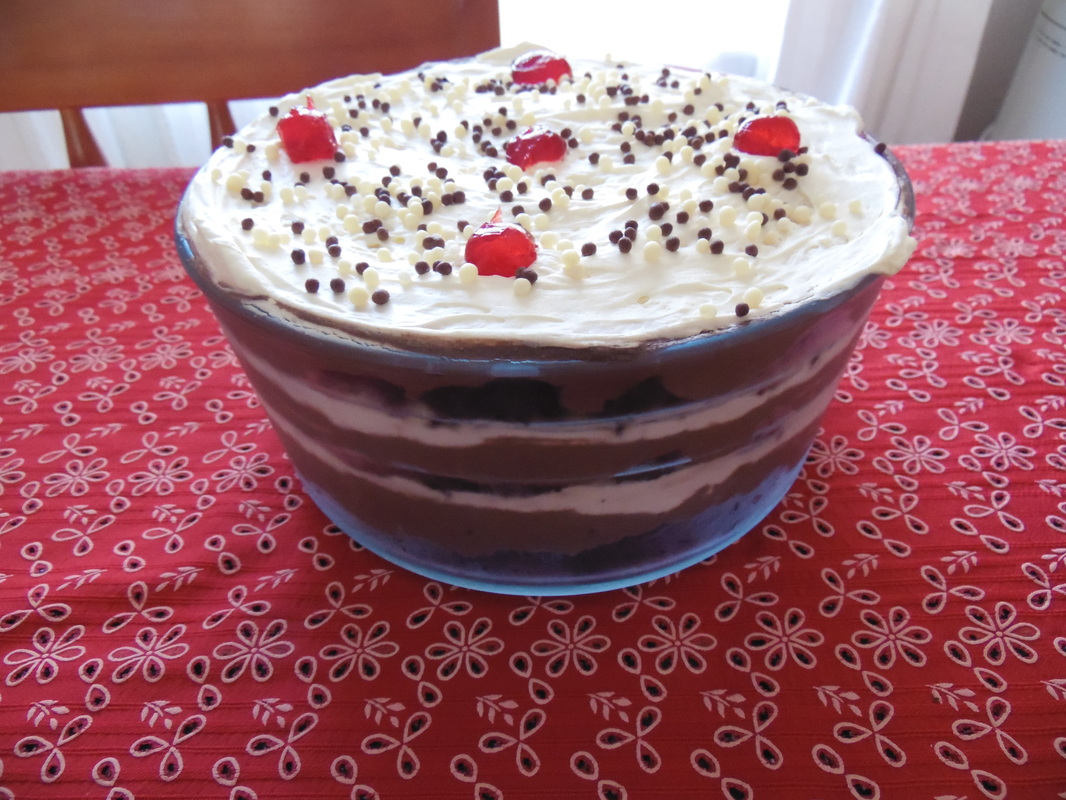
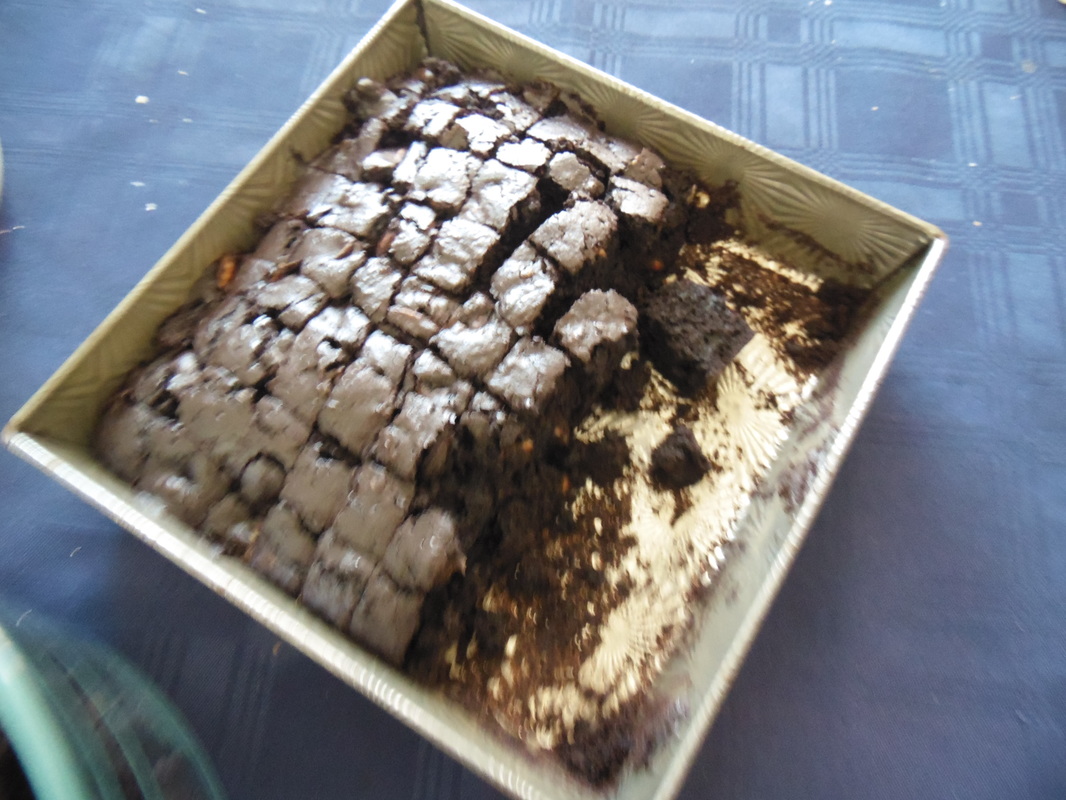
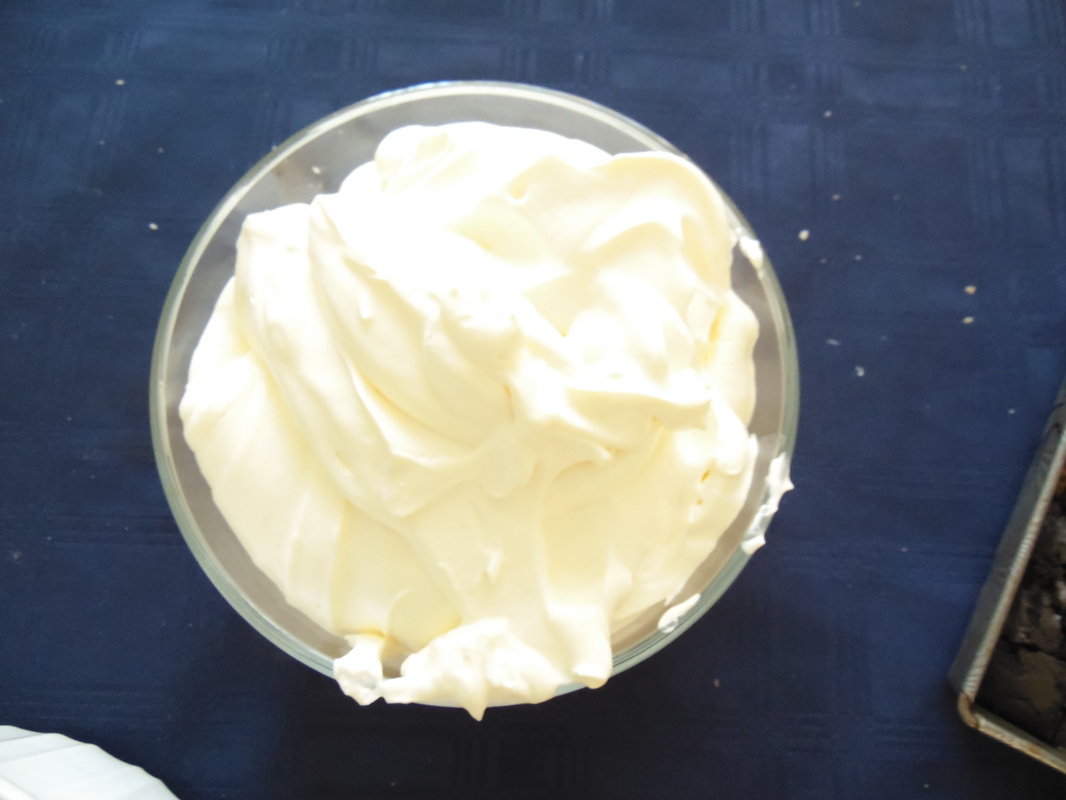
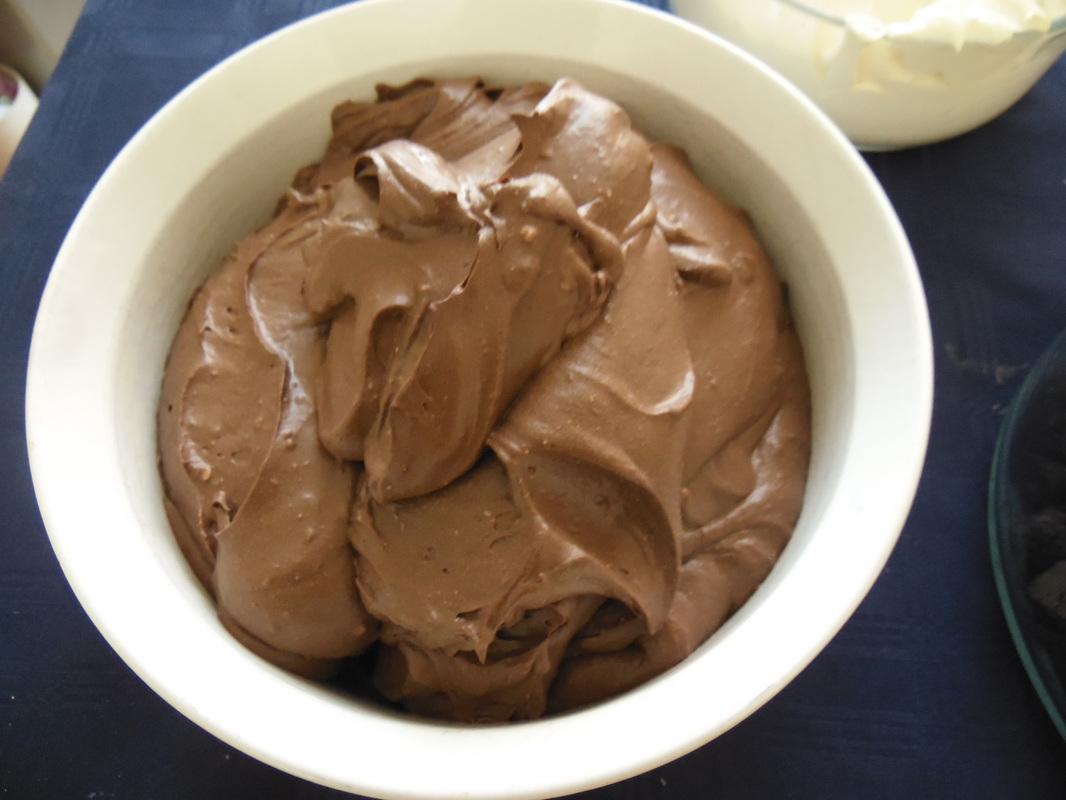
Yes it is as delicious as it looks and sounds! It is rich and decadent, and perfect for everyone who has a sweet tooth. Give yourself some time to make it, it keeps well in the fridge. What you need: 1 Batch of Brownies - Let them cool completely before you start assembling the trifle. Whipped Cream - Whip about 500ml of cream and set it aside. Chocolate Mousse - To make the chocolate mousse combine 2 cans of coconut cream, 1 cup of Icing sugar and half a cup of cocoa mix with an electric mixer until smooth. Nuts, grated chocolate or sprinkles To Assemble: Cut the brownies into small blocks as shown above. Use one third of the brownies and spread it out on the bottom of your bowl. (crumble them up a bit so that the layer is even) You can sprinkle extra nuts or chocolate at this point - but it is optional, depending how high you want that sugar high to go. Add one third of the chocolate mouse, start from the middle and spread to the sides, just let it kiss the sides, creating a "cleaner" layer. Do the same with the cream. Repeat until your ingredients re finished. Decorate the cream with chocolate sprinkles and cherries or grated chocolate and nuts. Keep in the refrigerator until you serve it. I hope you enjoy it as much a our family does!
|
AuthorIn November 2014 we found out that our Daughter as Celiac disease. I was determined to let her have a “normal” life and not give up on the good tasting things in life. With Christmas only a few weeks away I researched and started to experiment. Archives
October 2019
Categories |
||||||||||||||||||||||||||||||||||||||||||||||||||||||||||||


 RSS Feed
